In the process of narrowing down my favorite photo that I have taken this year, I decided to create a “TOP 5” blog post to help the decision making a little bit. Obviously these photos all lack something, but I think these photos were the ones I spent either most of my effort, or I was surprised by its decency. LOL :3
I noticed my family doing a puzzle the other day, and thought it would be a perfect group-photo. So, I set a few things up and had my mom and dad do the puzzle, per usual. For the candid portrait, I didn’t give them any instruction. I took pictures while they worked on the puzzle. For the posed portrait, I asked them to smile and act like they were having, like, way too much fun. They came through on that one. I edited these pictures lightly with levels and color adjustments. I resized it.
This was quite a project. I liked it. For this assignment, I set up a scene of my mom in her natural habitat – the outdoors. She has a passion for gardening, yard-working, and doing all the tuff stuff. Yeah, my mom is a bad-axe. Luckily, at our garden, there was already a pile of logs. From there, we used various tools to convey what we wanted. While editing this picture, I learned how to add a vignette using google, so that the sky wasn’t very noticeable and the focal point was in the center. Then, using more layers, I used some photo color and levels adjustments (and resized it of course). I like the final product.
metadata: 11/24/20, 2:28, 33mm, f/4.5, iso200, 9, canon eos rebel
Ok, honestly, I thought this assignment was going to be too hard. But I loved it. This was probably the most fun project I’ve done, actually. For this “Perspective” assignment, I took an ordinary object, like a saxophone, and created nine images of it in different perspectives. My sister, Megan, was gracious enough to pull out her instrument and let me take pictures of her with it. I used some indoor camera settings, an adjustable standing desk-lamp, and a wooden wall in one of the bedrooms. Although the steps were tacky, It turned out pretty nice looking.
Collage:
My Favorites:
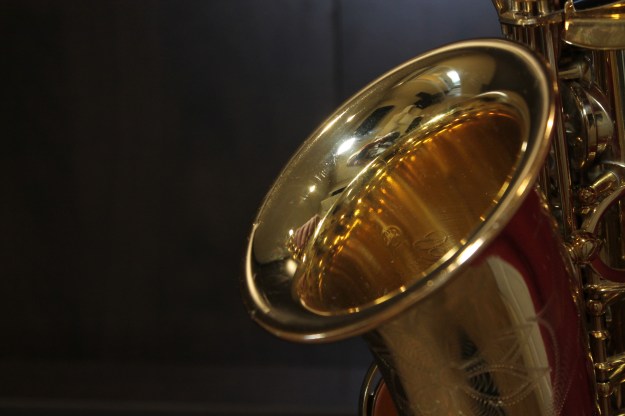
I love this bottom close-up shot, because of the super cool background, and the shine on the rim of the neck. Somehow, this photo also captured the engraved designs on the sides.
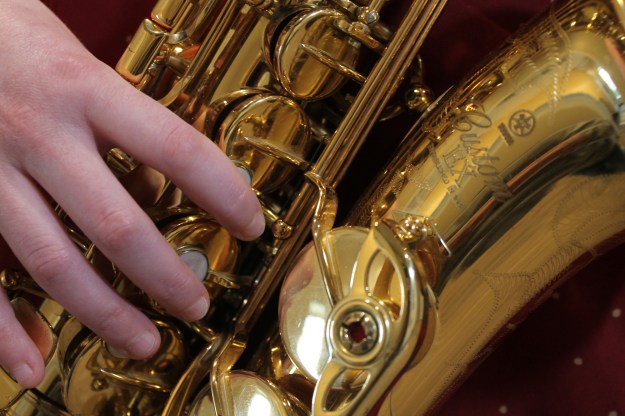
I really like this photo. The hand, the lettering on the neck, and the big keys make this photo interesting, and gives the viewer multiple things to look at. This is the type of photo I would be ok with staring at if I had nothing else to do.
Finally, I like this picture because the focal point is in the minor detail of the instrument. I love the four whiter keys in the middle, drawing attention to the center. The solid brown color on the side adds a crisp finish to the side of the sax. What I like most, though, is that past all the shine and light, you can see that the keys have been thoroughly worn. The gold paint has come off in places, and the shine is gone. This picture shows more than a saxophone; it shows a loved saxophone. I admire my sister for competing in marching band with this baby for 7 years.
For this project, I took pictures of a variety of models in a studio, using a black and a white backdrop. I used flashes to give the photo’s a professional look.
Black Backdrop
I like this picture. The shadows are nice, the main light gives her face a nice glow.
If this isn’t the best picture you’ve ever seen, I don’t know what is. I was lucky enough to catch this very manly pose that Jack is doing.
I like this. It gives off a casual, laid back feel. Maybe that’s just because the backdrop didn’t fill the entire background, but I kinda like it. Kenzie (is that her name??) is a very pretty model.
This is my favorite photo. I worked hard to take and edit this picture to make it look nice. He is also pretty cute. I cropped out some equipment at the top, and used the color range tool to create a pretty white background.
For this project, I pulled my sisters aside for a fun photoshoot. Megan is featured in the Side Composition photo, and Emily is our model for the Close-Up and Full Body Shot. It was a cloudy day, so the shadows weren’t harsh, however, I think I would have enjoyed a sunny day instead. Oh well.
Side Composition
OOOOO Megan
For this photo, I had Megan stand EXACTLY 20 feet in front of this shed. I zoomed in on her and made sure the shed was in the frame very linear. Looks good if you ask me. I used the rule of thirds, and resized it in photoshop. She looks mad, but she’s not. Well, she is, but that’s beside the point.
Close Up
This is Emily. I took a close up picture of her outside on this cloudy day. My camera told me that iso 400 was good for cloudy days. Very helpful.
Full Body Shot
gorgeous har.
This is her “eh” face. I liked this photo. I think the dress looks good with the white background, weirdly enough. I made sure to include her head and her feet.
For this project, I took some pictures of of my peers, using the masculine and feminine posing techniques. For the second half of my assignment, I edited two photos in different ways. I liked how my photo’s turned out. Without further ado…
Masculine and Feminine Posing
Looking good, Jack.
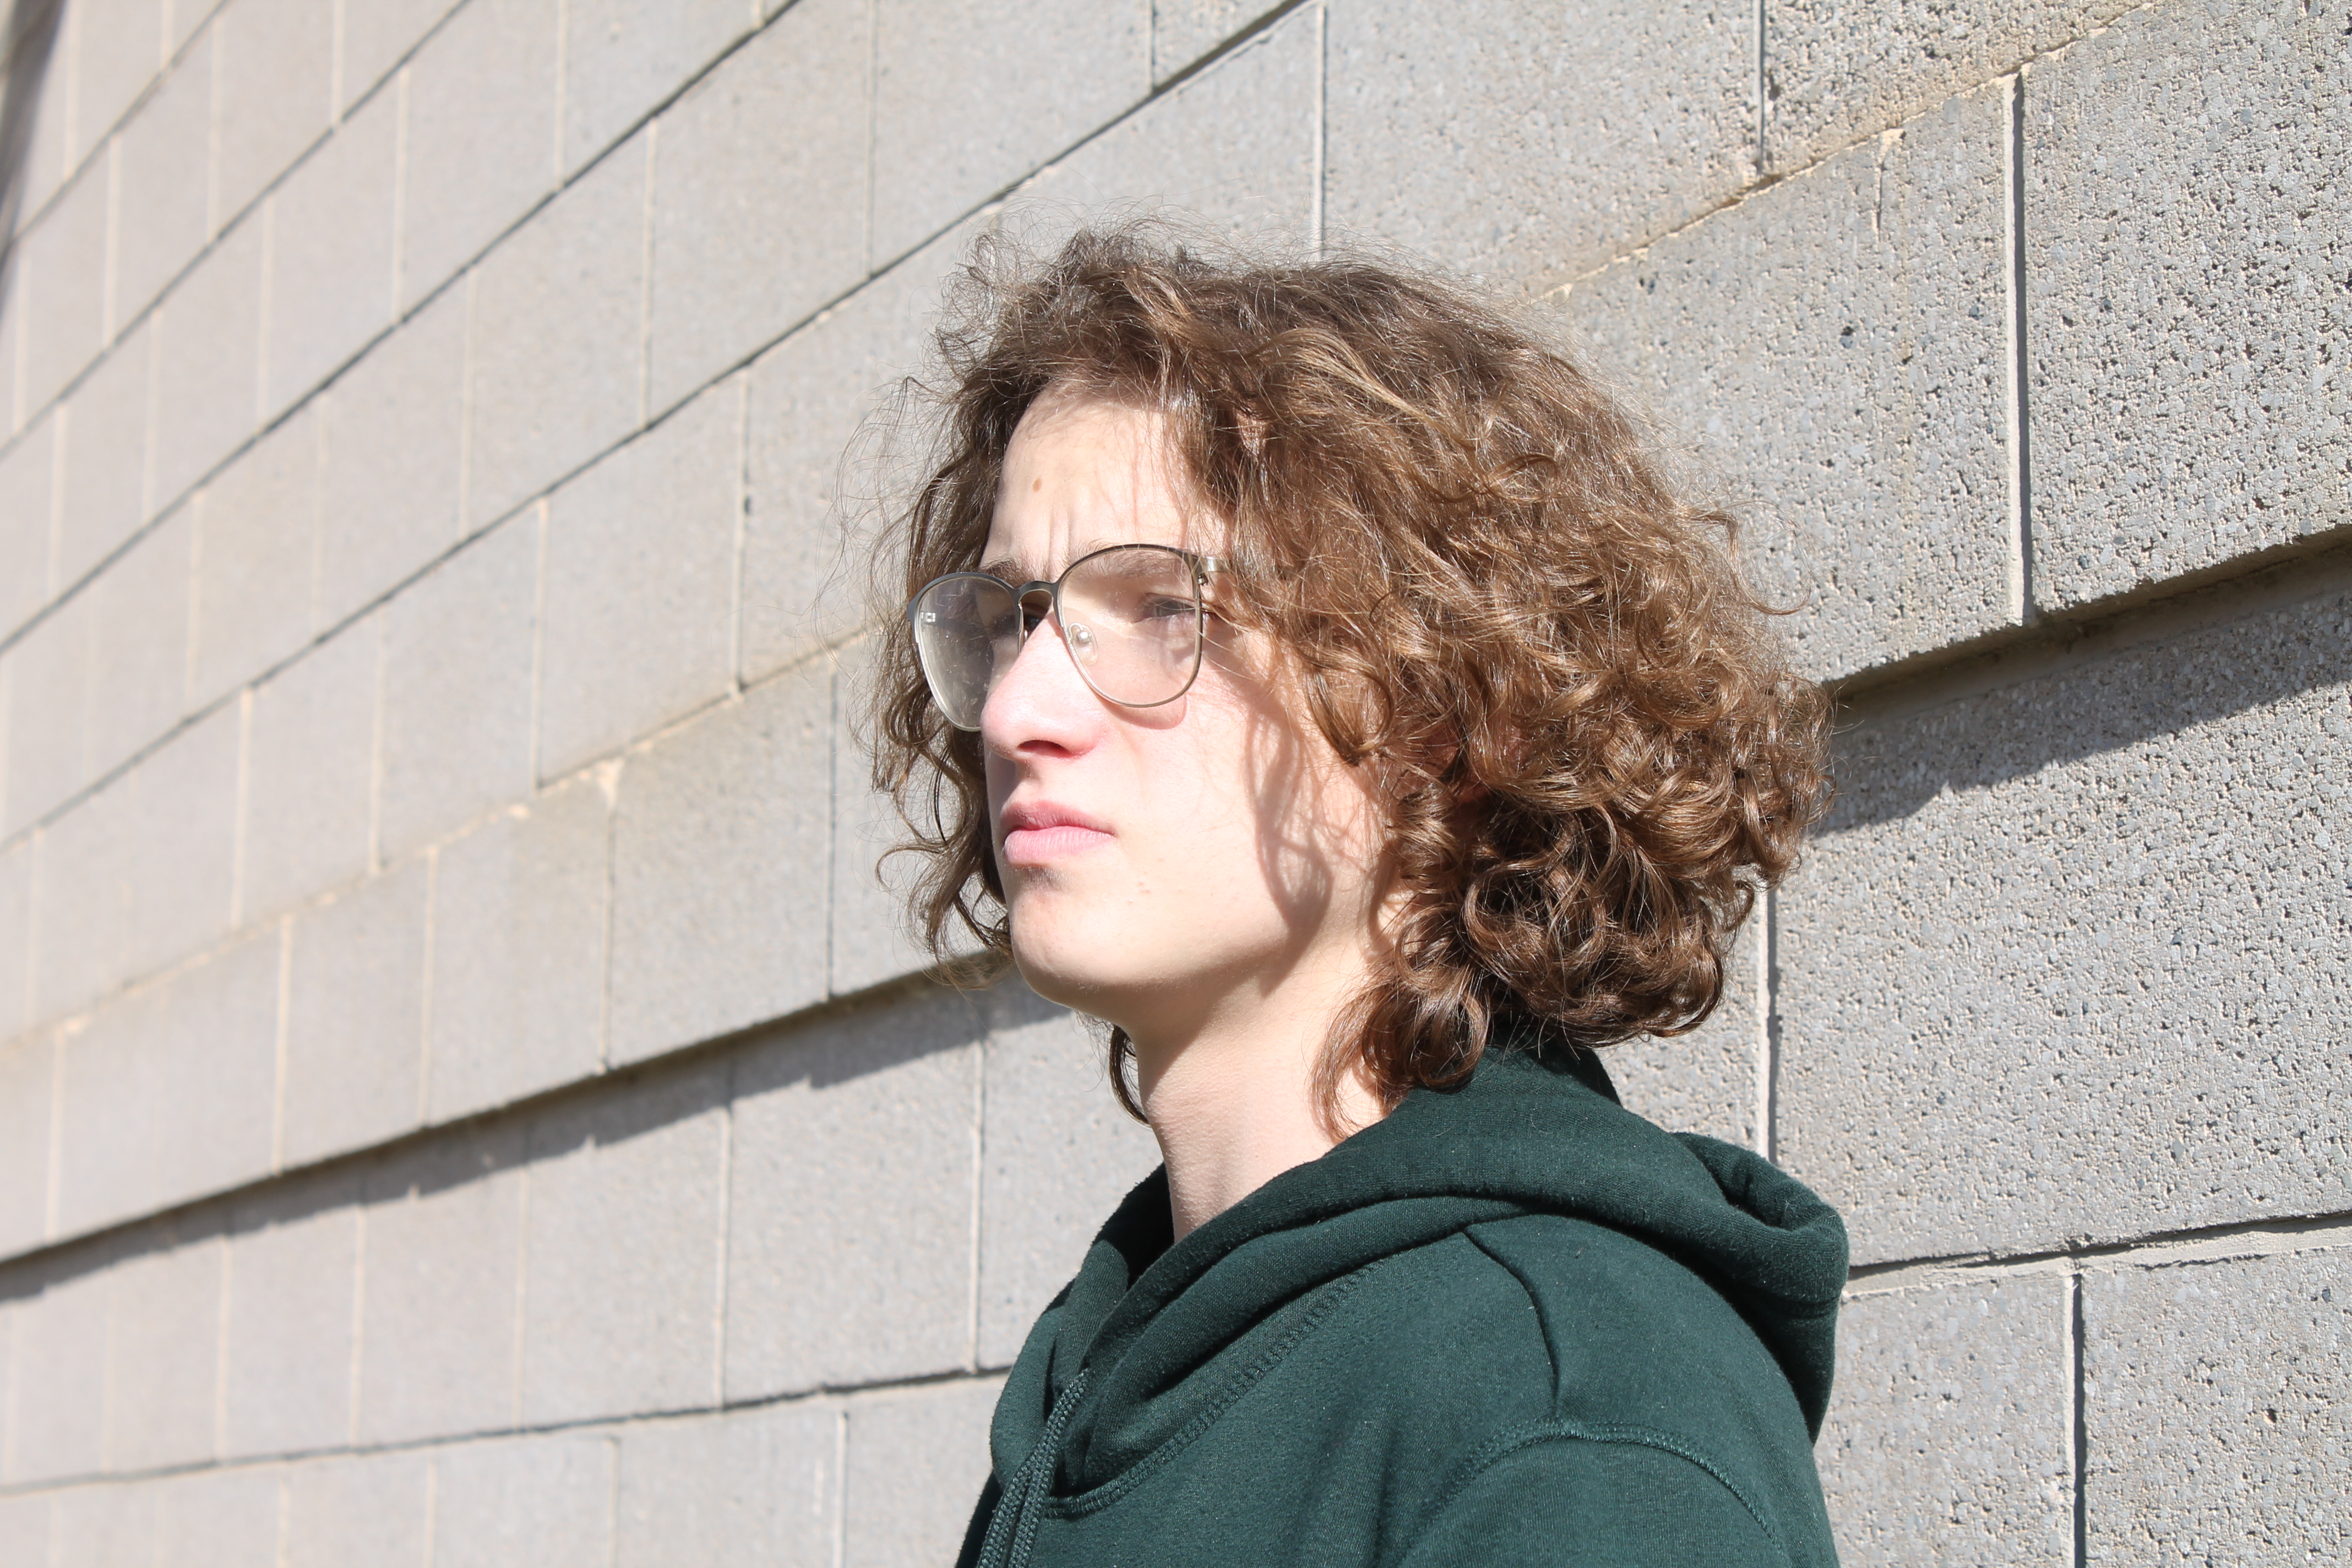
This is an example of the masculine pose. To appear more burly, Jack angled his dominant shoulder forward, and lifted his chin to the camera, matching the angle of face with the direction of his eyes. I like this photo. The shadow is harsh, but with limited equipment and skill, I think I made Jack look pretty good.
My sister, Emily.
This is an example of feminine posing. Emily’s shoulders are tilted, her chin faces her more dominant shoulder, but her eyes are looking forward. This zig-zag posing pattern is a good way to show the feminine side of a picture, and make someone look more girly. I think she still looks scary.
Edits
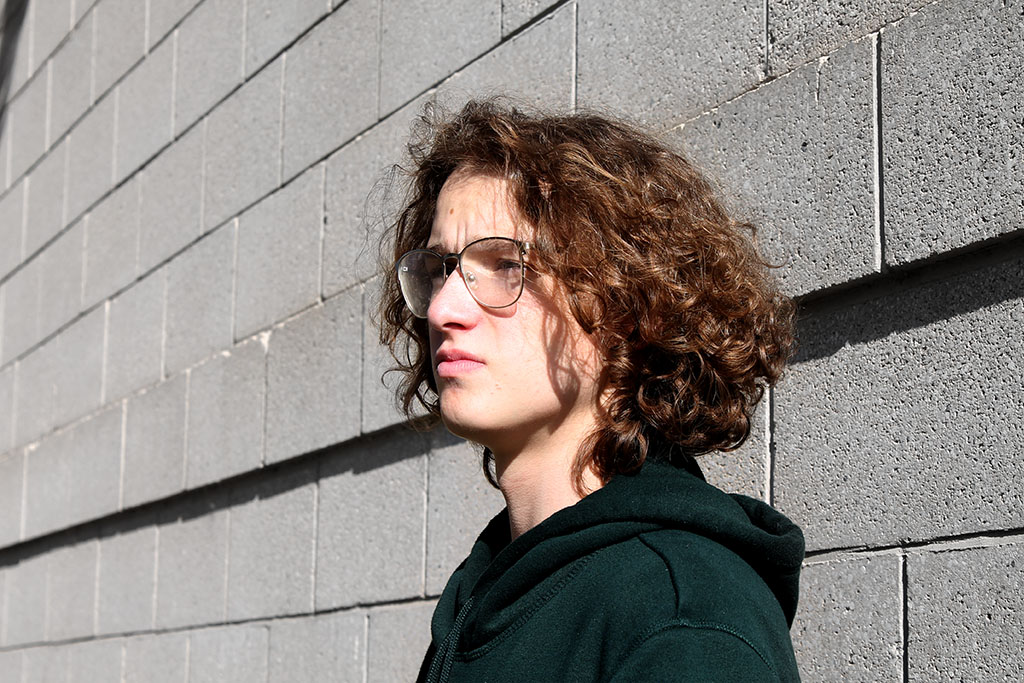
I loved editing this photo. The first thing I did in photoshop was change the levels. I brought a few knobs down a bit, to create more shadow and depth in the picture. Afterward, I noticed that the grey bricks in the background had some ugly brown-ish stains near the edges. So, I duplicated the layer and created a mask, and then brought the vibrancy down so that the bricks were completely grey. Then, I removed the mask over Jack, so that he was still colorful, but the background was solid grey. Turned out rlly good.
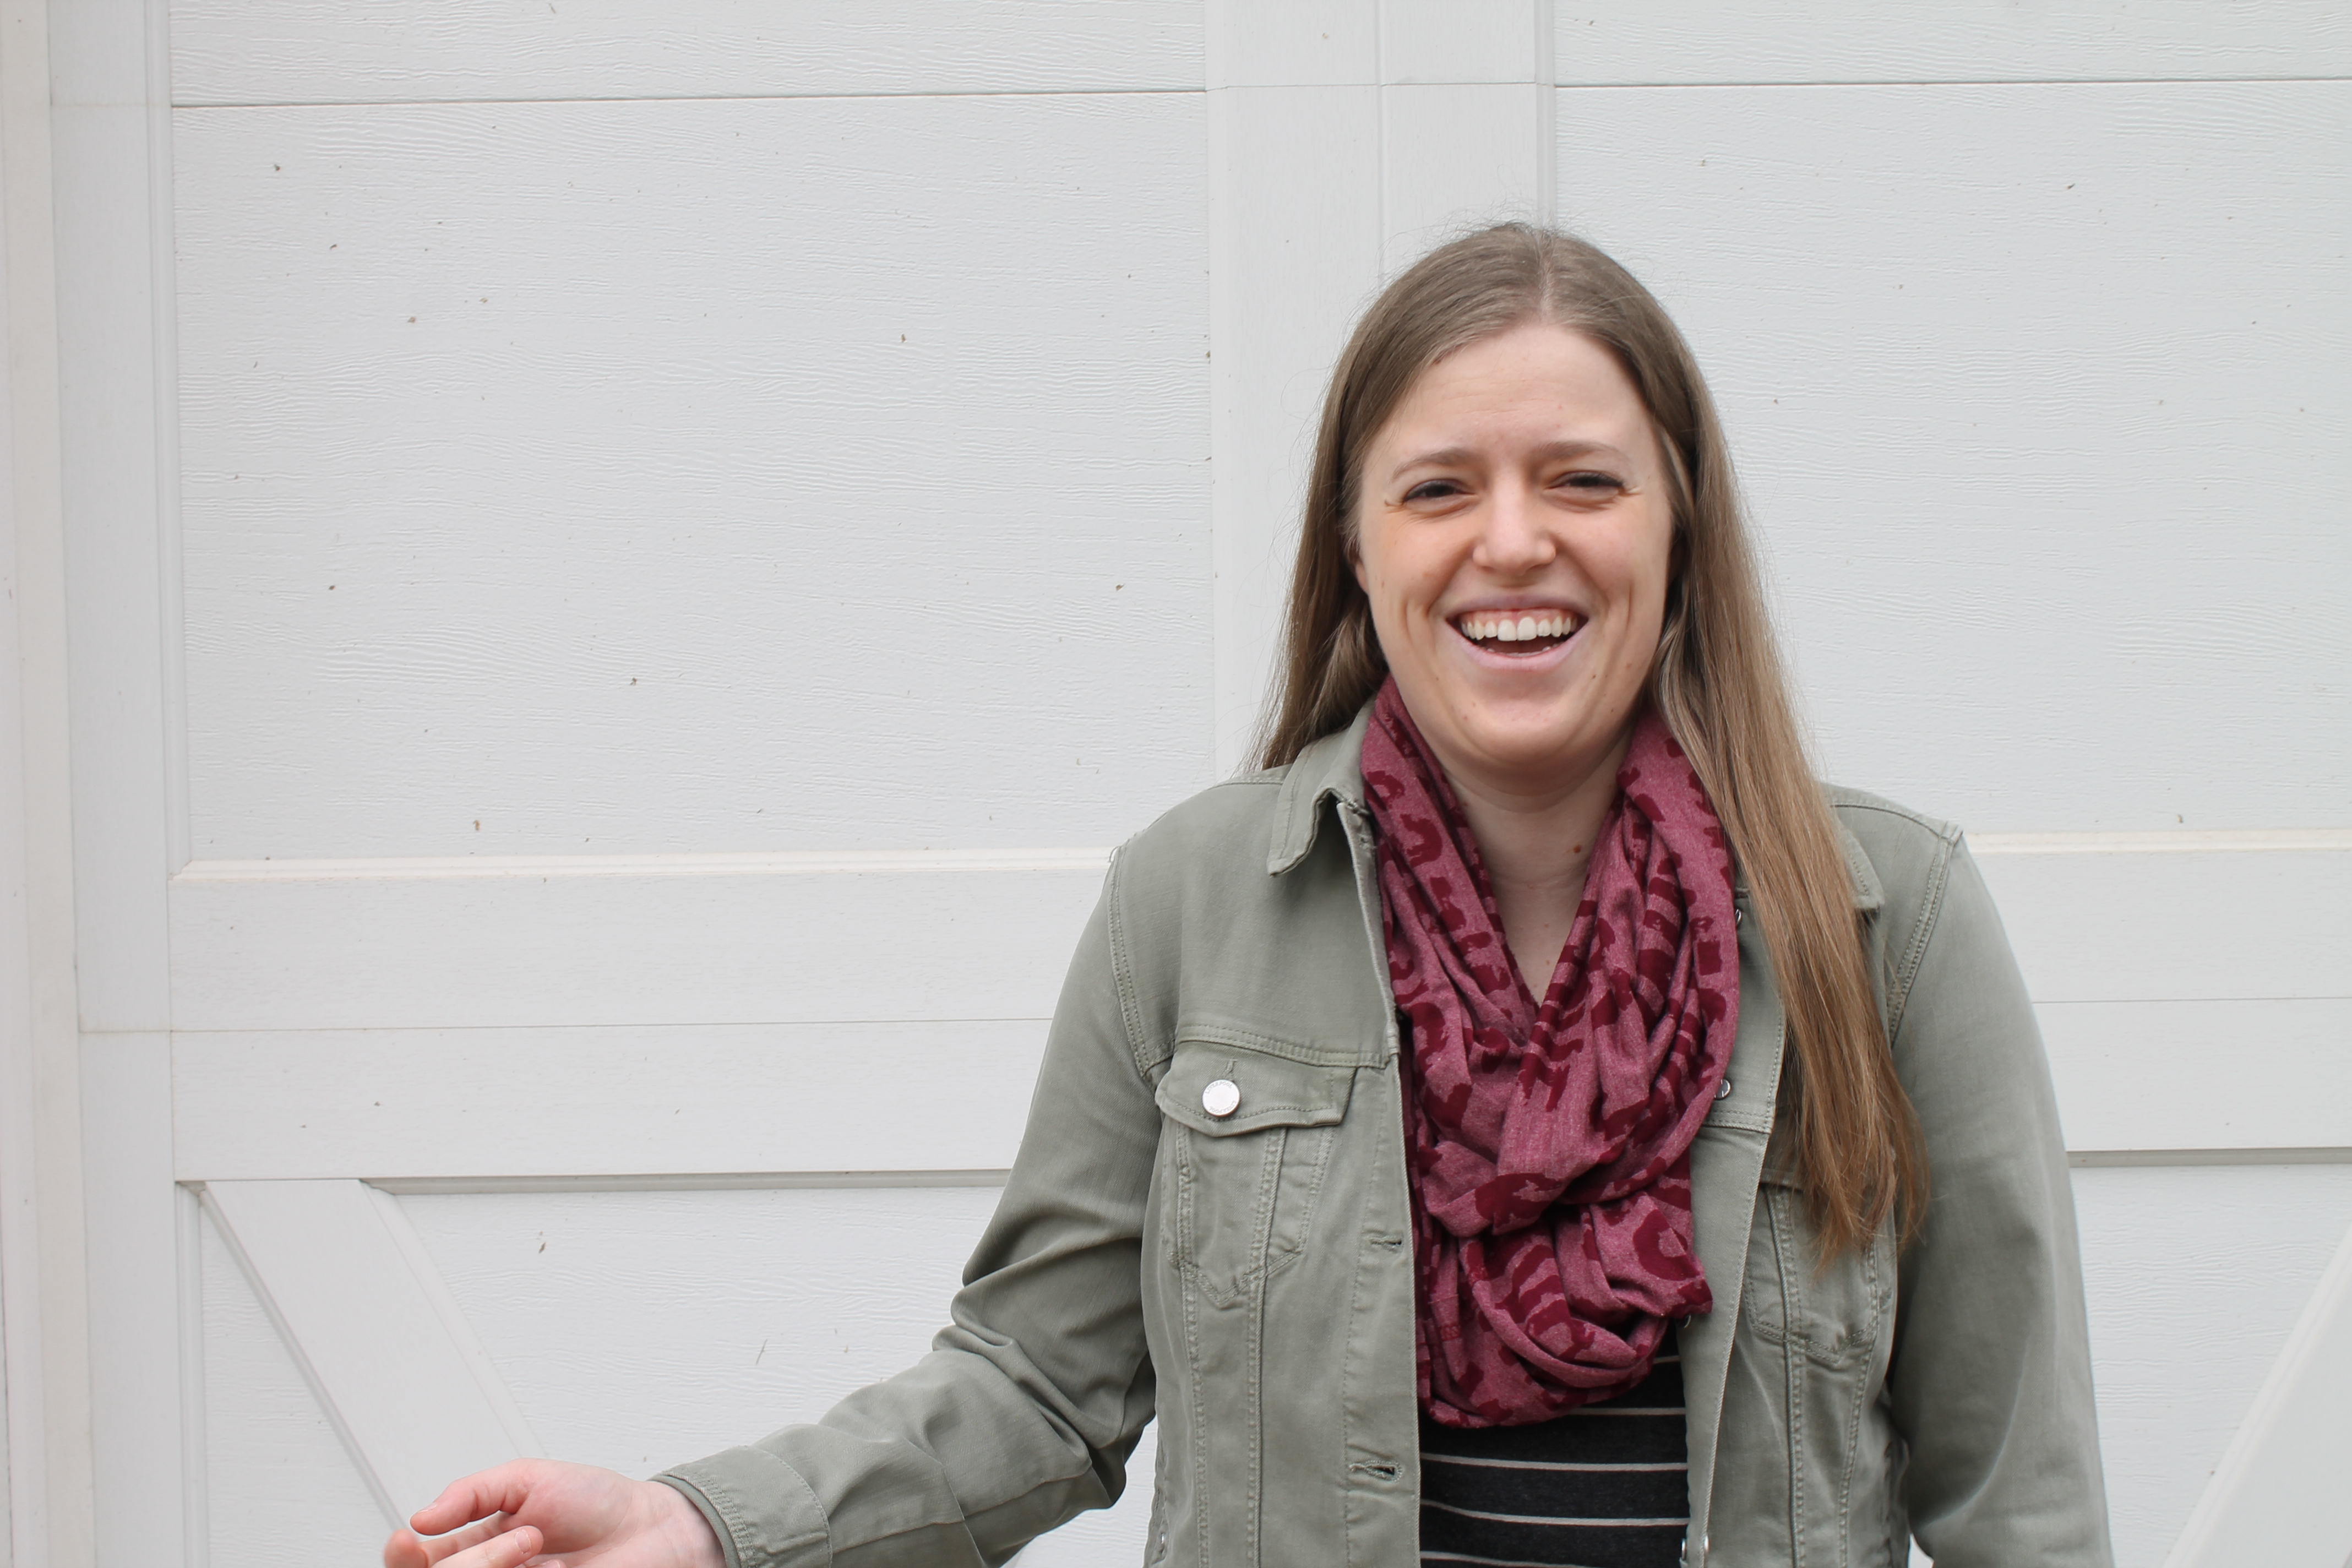
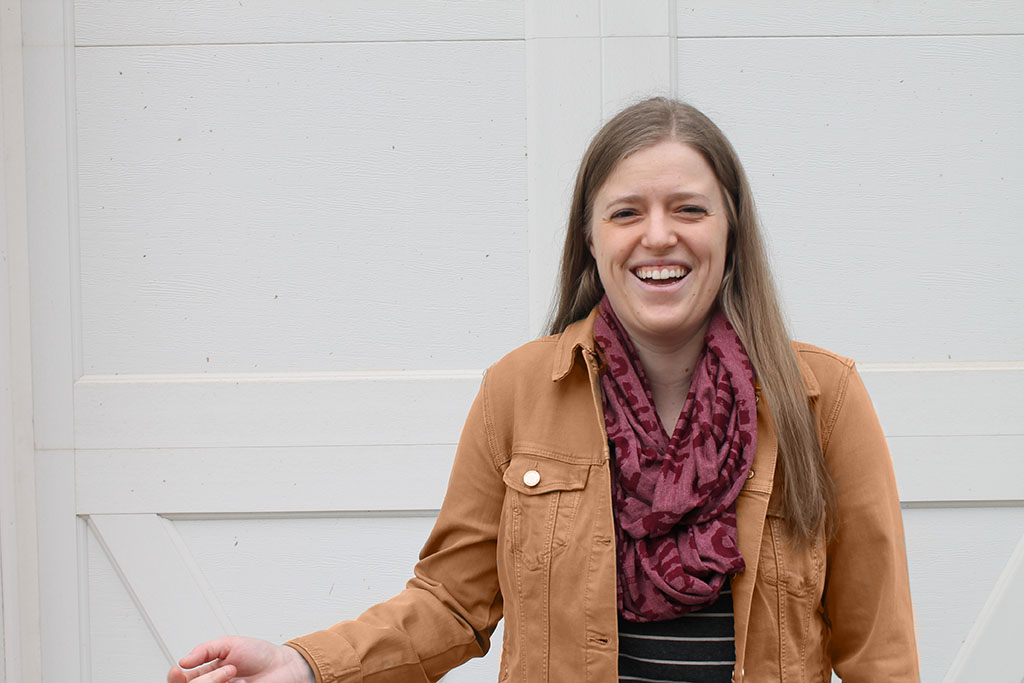
This is my sister Megan. I changed her olive colored jacket to an dusty orange. I used the color replacement tool to brush over her jacket, using the color I selected for my foreground. I think it looks believable.
Flash is a good thing, I have come to realize. For this project, I tested out how flash can affect an average photo in broad daylight, and what enhancements it can make in a photo. Flash is an easy way to add an extra light source to a photo, and get rid of any nasty lighting that the sun can make, bringing out the good only.
The Before – Too Exposed.
Without flash, taking a normal photo outside can cause some pretty harsh shadows, and only mediocre lighting/exposure.
The Before – Not Exposed Enough.
This photo is okay, but the subject is too dark. Her face is underexposed, leaving shadows that don’t look good, and the photo has no depth.
The After.
As you can see, the harsh natural shadows have been compromised, and the flash has left a nice blended shadow, and has added some richer color to her face and hair.
I loved this project. For this assignment, me and my team used a variety of reflectors such as black, white, and gold, to create nice lighting for a yummy portrait. Black reflectors add nice easy shadows that are pleasing to look at. White reflectors brighten and lighten the subject, while keeping the background at a lower exposer, and GOLD (my favorite) adds that tan, shiny, golden look to the subject. Reflectors can make any photo instantly better, and any person look instantly cooler.
The Before.
As you can see, this picture looks bad, and it doesn’t do the model justice. Everything is over-exposed, and trying to fix this in photoshop will leave a bad-quality, corrupted photo.
The After – Black
Great. Now our model looks mysterious, is in proper lighting, and is more human looking. This black reflector added some dramatic shadow that changed the entire look of this picture.
White.
Our young model here is bright and crisp, with this white reflector. the background isn’t over exposed or under exposed, and neither is she. White reflectors add a nice light glow to this photo, leaving our girl here in the focus point of the picture (obviously, haha.) and the outcome hasn’t been changed by the sunlight.
Gold.
The beautiful gold reflector. It makes every hour look like sunset hour. The shine and tan that this gives adds a very nice look to any portrait, and helps add some warm color to cooler lighting.
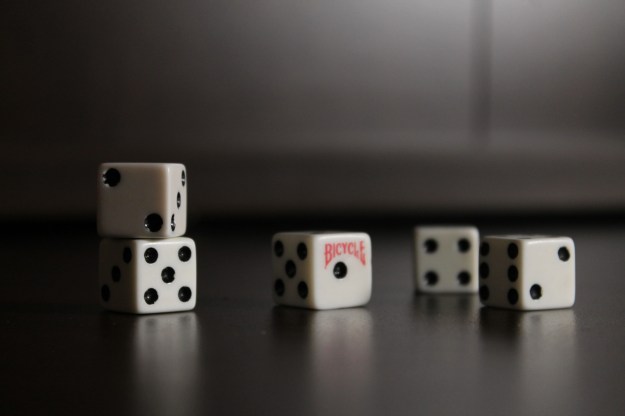
For this project, I decided to take a few photo’s with different aperture. The first type is Deep depth of field, which means everything is in focus. The second type is Shallow depth of field, which means one thing is in focus. I went simple, so it is easy to show the difference between deep and shallow depth of field.
Shallow Depth of Field
A shallow depth of field means that there is only one subject in focus, and the rest is blurred out. In order to have more blur, you need less of an f/stop, so for these pictures I used f/4.5. A shallow depth of field works the best with small items, or head-shots. This is what I came up with.
I went over to a reception venue/ nature park and took some pictures of the birds, but I think I liked these birdhouses better! I used a shallow depth of field to bring the attention to the colorful house.
Deep Depth of Field
Deep depth of field is when all subjects in the photo are relatively in focus. You are able to tell the distances between objects in the photo, using a deep depth of field. This is a great setting to use for landscapes.
metadata: football field. 9/24/2020, 1:38 pm, DHS. 35mm. f/22. 7.63. canon eos rebel t3.
This picture was taken on my high school’s football field. It’s a blunt representation of a deep depth of field, because everything in this picture is in the right amount of focus, depending on how far or close it is from the camera.
This picture was intended for my deep depth of field, but I may have forgotten to change some settings, so it could look better. :0 I like this photo because it has the big tree, the birds, the lake, and the sky.